Hello friends, today we are going to discuss Custom Footer Buttons In Screen Flow. Custom footer buttons give you the flexibility to extend the functionality of your Screen Flows, allowing users to perform custom actions or trigger specific processes within the flow.
By default, Screen Flows in Salesforce provide standard navigation buttons at the bottom of each screen, such as “Next,” “Back,” and “Pause.” However, there are situations where you might want to add additional buttons to meet specific business requirements.
Also, check this: Customize Button Labels in the Flow Screen Footer
Key Highlights :
- Call action according to our requirements.
- We can enable/disable buttons.
- Easy to use and customizations.
- override the buttons using a custom LWC button.
- Use LWC in the flow Screen.
- The
lightning/flowSupportmodule provides events that enable a component to control flow navigation and notify the flow of changes in attribute values. - FlowAttributeChangeEvent — Informs the runtime that a component property has changed.
- FlowNavigationBackEvent — Requests navigation to the previous screen.
- FlowNavigationNextEvent — Requests navigation to the next screen.
- FlowNavigationPauseEvent — Requests the flow runtime to pause the flow.
- FlowNavigationFinishEvent — Requests the flow runtime to terminate the flow.
Process & Code :
First of all we create a LWC component with custom buttons and form. We import lightning/flowSupport and imports all the standard buttons events.
lWCFLOW.html :
<template>
	<lightning-input type="text" variant="standard" name="name" label="Account Name" placeholder="type here..."
		value={accountName} onchange={handleFieldChange}>
	</lightning-input>
	<lightning-input type="text" variant="standard" name="accountnumber" label="Account Number"
		placeholder="type here..." value={accountNumber}></lightning-input>
	<lightning-input type="text" variant="standard" name="phone" label="Phone" placeholder="type here..." value={phone}>
	</lightning-input>

	<footer class="slds-modal__footer slds-m-top_small">
		<lightning-button class="slds-m-top_small" onclick={handleGoBack} name="Back" label="Back">
		</lightning-button>
		<lightning-button class="slds-m-top_small slds-m-left_x-small" onclick={handleReset} name="Reset" label="Reset">
		</lightning-button>
		<lightning-button class="slds-m-top_small slds-m-left_x-small" variant="brand" name="Save" label="Save"
			onclick={handleSaveData} disabled={isDisableSaveBtn}>
		</lightning-button>
	</footer>
</template>
lWCFLOW.JS :
import { LightningElement } from 'lwc';
import { FlowNavigationFinishEvent, FlowAttributeChangeEvent, FlowNavigationBackEvent, FlowNavigationNextEvent, FlowNavigationPauseEvent } from 'lightning/flowSupport';

/*FlowAttributeChangeEvent — Informs the runtime that a component property has changed.
FlowNavigationBackEvent — Requests navigation to the previous screen.
FlowNavigationNextEvent — Requests navigation to the next screen.
FlowNavigationPauseEvent — Requests the flow runtime to pause the flow.
FlowNavigationFinishEvent — Requests the flow runtime to terminate the flow.*/

export default class LWCFLOW extends LightningElement {
    accountName;
    accountNumber;
    phone;

    handleReset(event) {
        this.template.querySelectorAll('lightning-input').forEach(element => {
            element.value = null;
        });

        this.accountName = undefined;
        this.accountNumber = undefined;
        this.phone = undefined;
    }

    handleSaveData() {
        // navigate to the next screen
        const navigateNextEvent = new FlowNavigationFinishEvent();
        this.dispatchEvent(navigateNextEvent);
    }

    handleGoBack() {
        // navigate to the back screen
        const navigateBackEvent = new FlowNavigationBackEvent();
        this.dispatchEvent(navigateBackEvent);
    }

    get isDisableSaveBtn() {
        return !this.accountName;
    }

    handleFieldChange(event) {
        if (event.target.name === 'name') {
            this.accountName = event.detail.value;
        } else if (event.target.name === 'accountnumber') {
            this.accountNumber = event.detail.value;
        } else if (event.target.name === 'phone') {
            this.phone = event.detail.value;
        }
    }
}
lWCFLOW.JS-meta.xml : Here I set lightning__FlowScreen in target so I can use this in Flow.
<?xml version="1.0"?>
<LightningComponentBundle xmlns="http://soap.sforce.com/2006/04/metadata">
	<apiVersion>57.0</apiVersion>
	<isExposed>true</isExposed>
	<targets>
		<target>lightning__FlowScreen</target>
	</targets>
</LightningComponentBundle>
Now we will create Lightning Screen Flow and drag and drop the LWC component in Screen Flow.
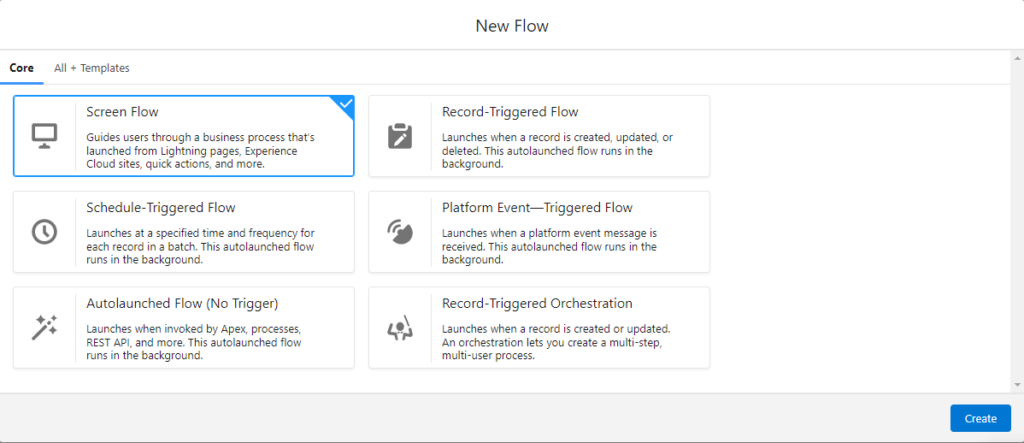
Step 1: Open the Screen Flow builder by navigating to Setup > Flows. Select the Screen Flow you want to modify or create a new one.

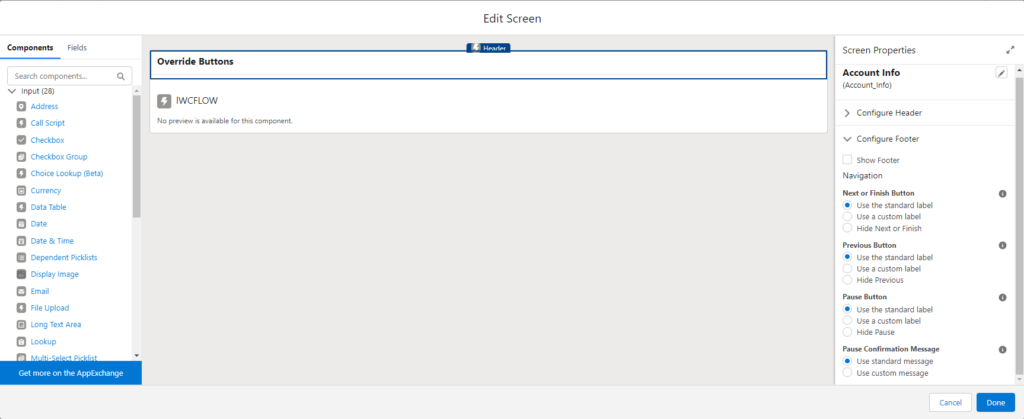
Step 2: Here we will drag and drop the “LWC” component from the palette onto the footer section of the screen. Also for the standard screen, we will hide the Flooter by unchecking the checkbox of the Show Footer field.

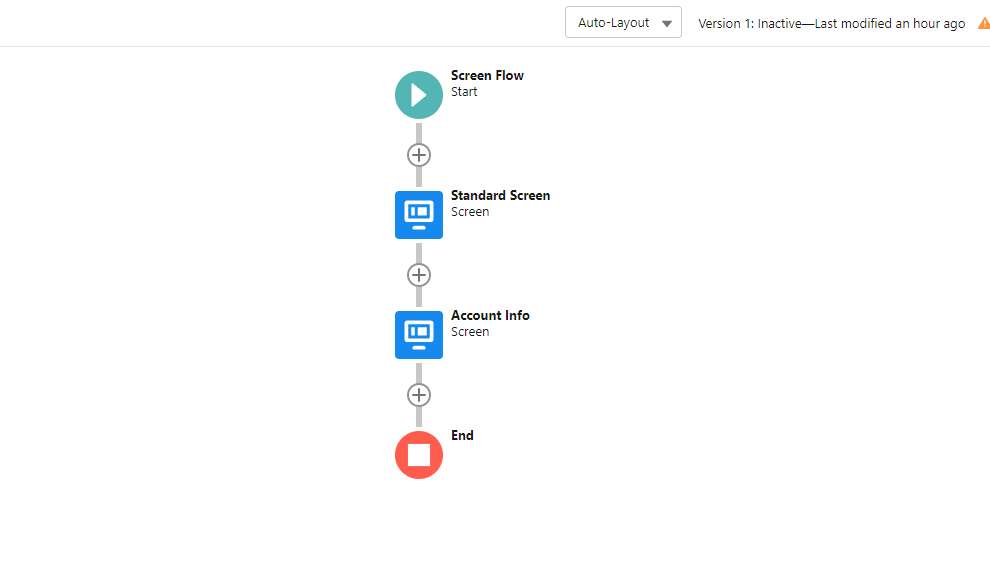
Step 3: I also added a screen flow before the above flow and we can see navigation b/w these.


 Total views : 1192048
2 comments
Hi Rijwan Mohmmed,
Thank you for the insightful artcile on how to create LWC buttons to be used on screenflow.
But i had few issues. when i use the import lines in the .js file of the LWC component i get
“Failed to save SaveButtonController.js: Failed to parse CONTROLLER for js://c.SaveButton: org.auraframework.util.json.JsonStreamReader$JsonStreamParseException: Invalid literal value [1, 1]: ‘import’: Source”.
I am creating using latest LWC version. Kindly help me with this issues if you have any idea.
Thanks 🙂
Can you please share your code